
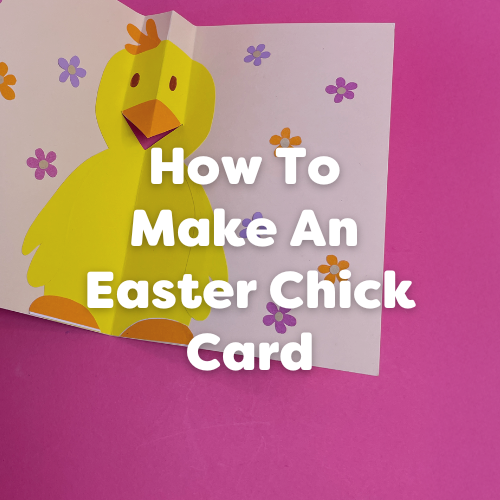
Welcome the Easter festivities with easy easter crafts by teaching little ones how to make an easter chick card. Follow our step-by-step guide and get a head start on your Easter celebrations!
For this quick and easy craft you’ll need:
Follow these simple steps to create your Easter chick card:
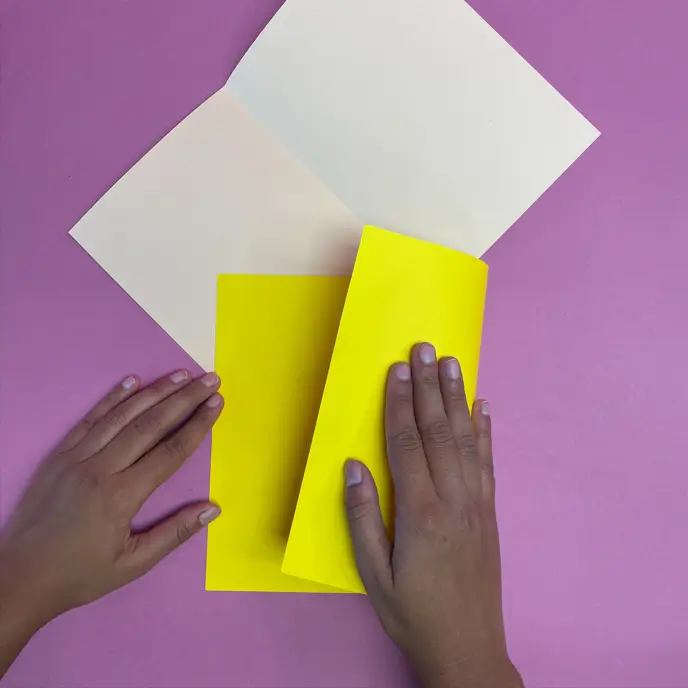
1. Fold two cards in half
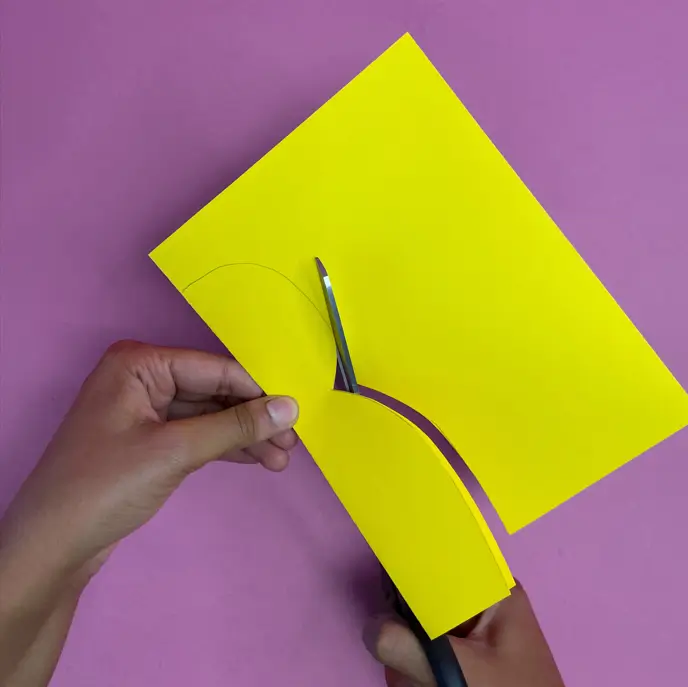
2. Draw an outline of a chick on the yellow card and carefully cut this out
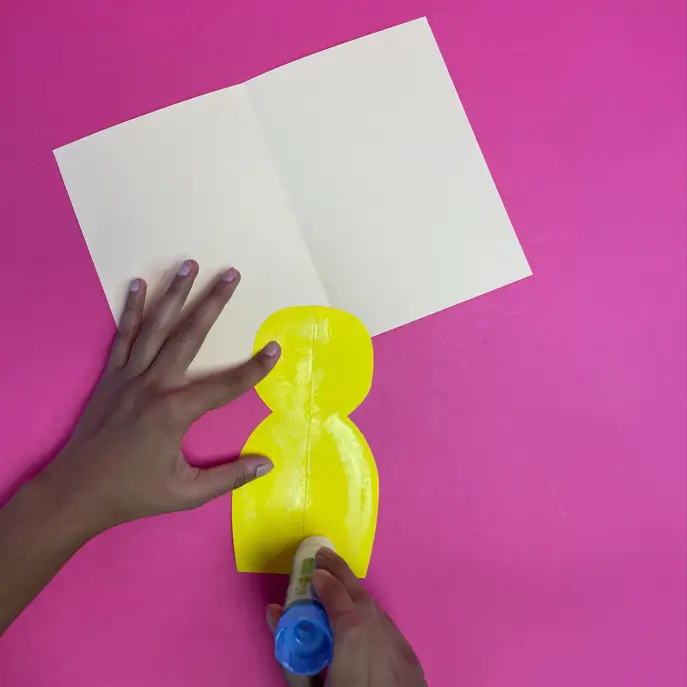
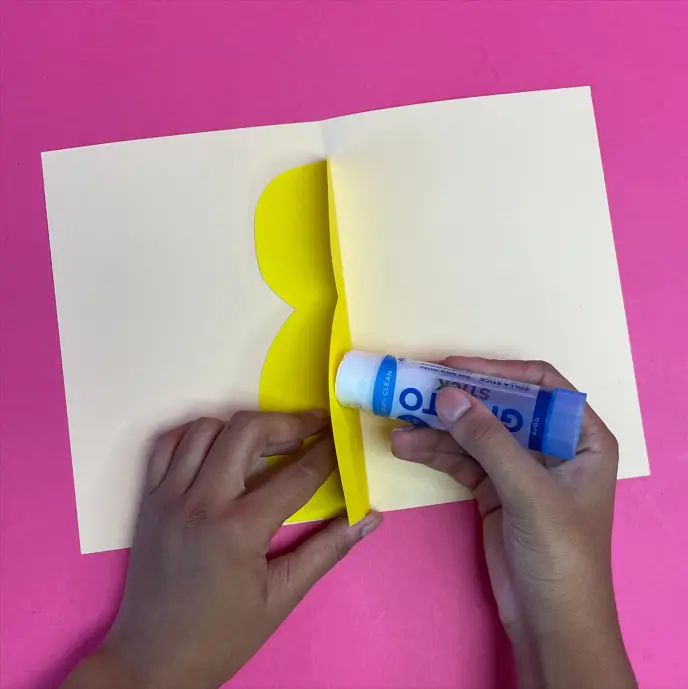
3. Open the folded cards and glue the yellow chick into the centre
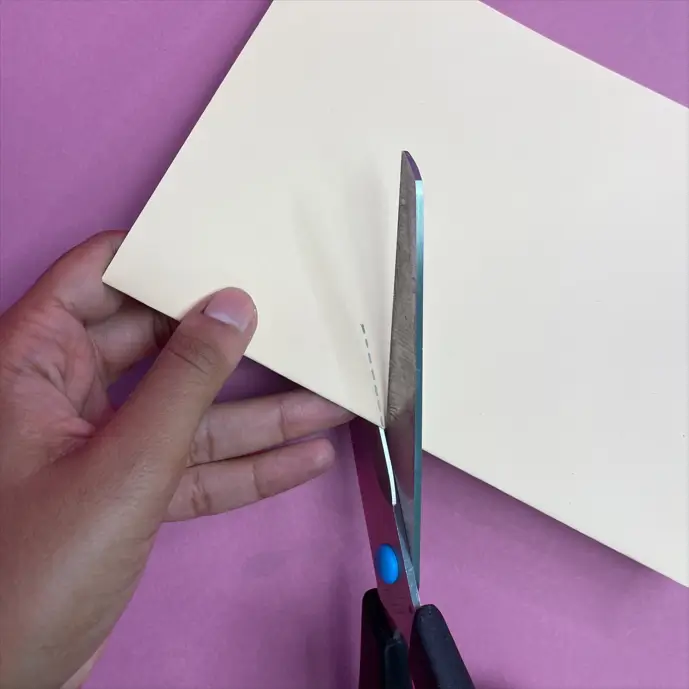
4. To create a beak, make a 3cm cut upwards at an angle on the folded edge of your card
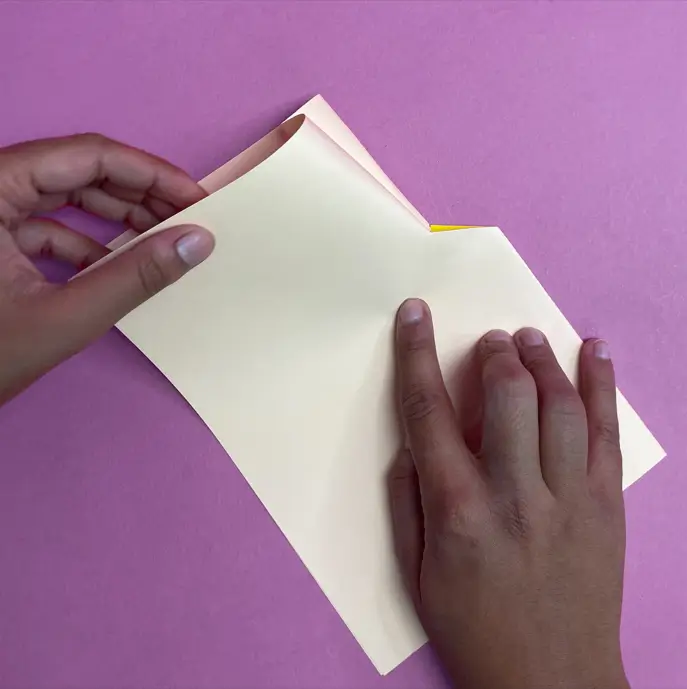
5. Open the folded card, push the triangular cut inwards then fold
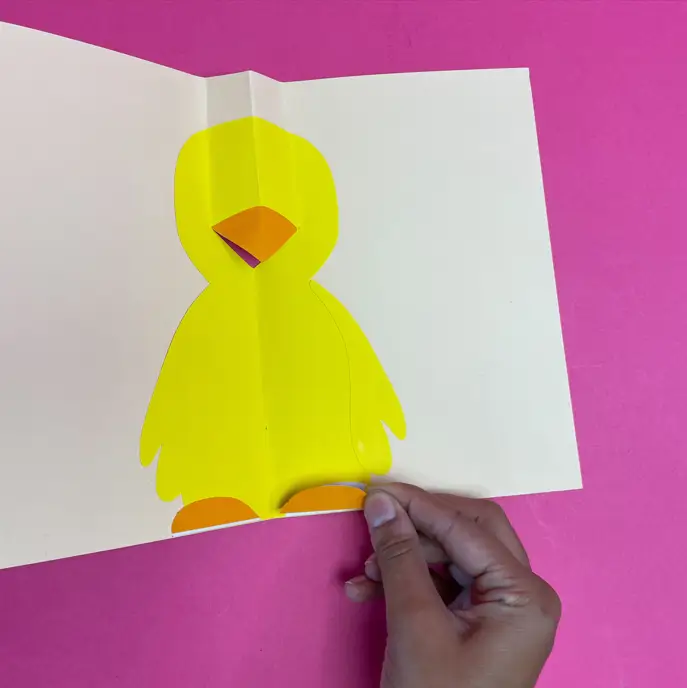
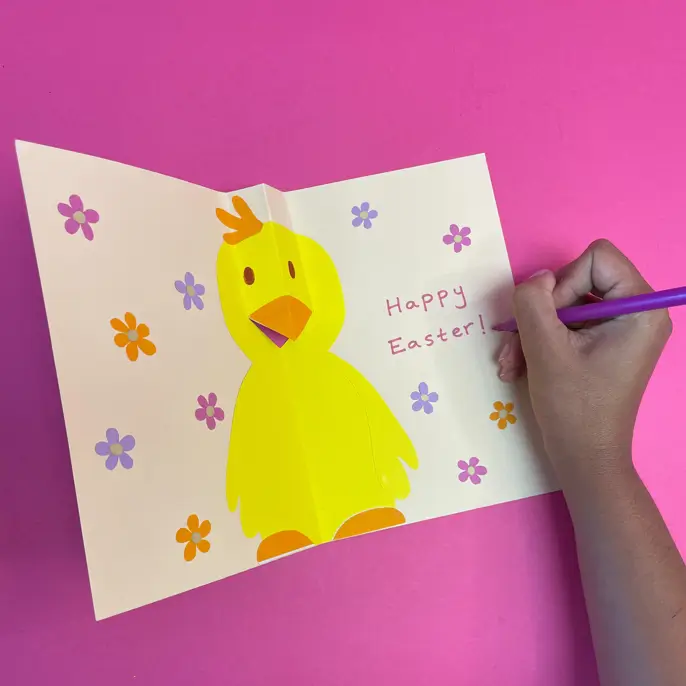
6. Draw or glue features onto your chick such as a beak, eyes and feet
7. Add flowers around the chick, glue paper shapes, collage materials or paint to decorate
And that’s it! Your Easter chick card is made!
Why not make multiple ones to give to all members of the family. It would make a fantastic keepsake for future memorabilia.
We hope you found this easter crafts guide useful! If so, be sure to visit our Easter section where you’ll find more Easter Craft resources.
Did you take part in this celebration craft? We would love to see how you got on! Send us pictures of your masterpieces on Facebook or Instagram and don’t forget to use the hashtag #ExploreWithEYR to share your creations!


Some fresh ideas for crafting – thanks!
love these for some creative ideas for Easter. Cheap and easy to do for the little ones when they visit!