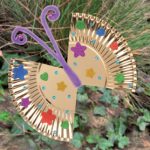
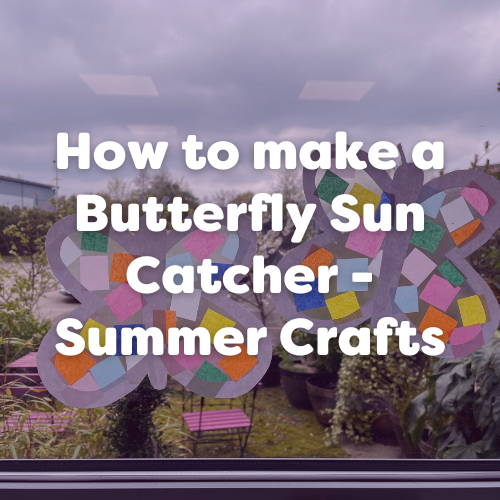
Let the light in this summer with these fun and colourful Butterfly Sun Catchers, the perfect addition to any window! A perfect craft for children aged 5 – 7 years old and a great opportunity to discuss colour mixing. Simply read the instructions below to get started on your Butterfly Sun Catchers:
Art materials you will need:
- Large A3 sheet of black card
- Clear sticky back plastic
- Tissue paper in various colours
- Scissors
- Glue
- Pencils
Instructions for your Butterfly Sun Catchers:
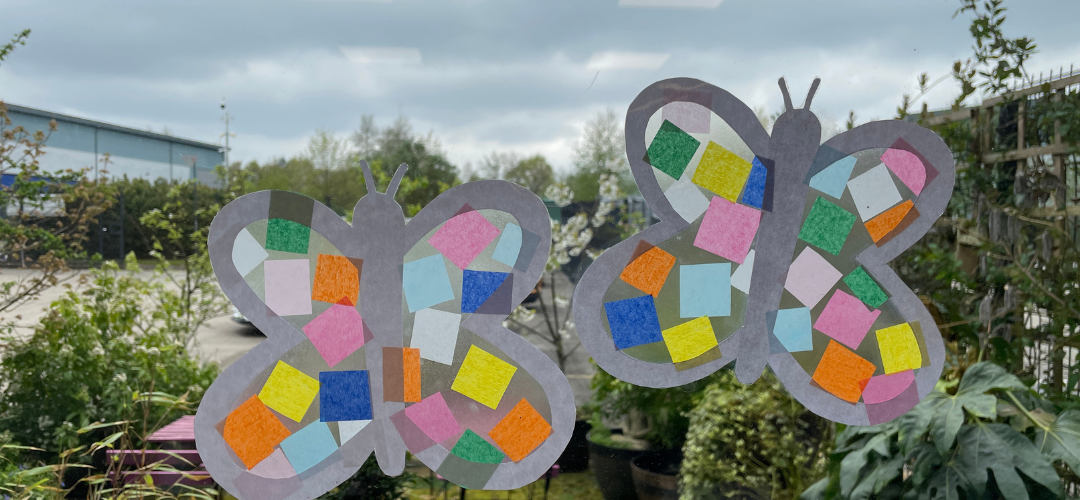
Step 1: Take the A3 sheet of black card and a pencil. Sketch out a large butterfly outline on the sheet. Your butterfly should have a thick border (approx. 2.5cm), as pictured. Cut around the shape.
Step 2: Fold your butterfly in half and use scissors to carefully cut out the centre of the butterfly – this can be discarded. You will be left with a simple butterfly frame.
Step 3: Cut out a square of clear sticky back plastic. It should be larger than the butterfly frame cut out earlier. Place the square of plastic (glossy side down, paper side up) on a flat surface. Carefully peel off the backing paper to reveal the tacky surface.
Step 4: Stick the butterfly frame (face-down) onto the tacky plastic sheet.
Step 5:Next, cut the coloured tissue paper into 2.5cm squares and have fun sticking the squares onto the tacky plastic sheet. When finished, seal your artwork by sticking another square of sticky back plastic over the top.
Step 6: Use scissors to trim around the edges of the butterfly to neaten. Hang your butterfly sun catcher in a sunny window to light up your design!
Fun Fact: Did you know there are 17,500 different species of butterfly!
We would love to see how you get on with your butterfly suncatchers! Send us pictures of your masterpieces on Facebook or Instagram by tagging us or using the hashtag #ExploreWithEYR.